Dyeing eggs is a a common craft many families partake in when Easter is approaching, but it's not as easy as some may think it is. In the classic comic strip Peanuts, the lovable character Marcie drove Peppermint Patty crazy when she kept messing up while trying to hard-boil eggs for dyeing. Of course, it's funny to see Marcie popping the eggs in the oven or onto the toaster, but surely, boiling the eggs to dye for Easter can't be that hard, right?
It's not always as easy as it looks to get those perfectly hard-boiled eggs that are ideal for dyeing. Turns out, there are a lot of mistakes that can be made when boiling eggs, especially when you're making a bunch to create dazzling colored eggs for Easter. Don't worry though. if you want to know how to boil and dye Easter eggs, we've got all the details for the upcoming Easter holiday.

How to boil eggs for Easter
Boiling eggs for Easter isn't as straightforward as grabbing a few eggs from the fridge. Here we break down how to ensure you'll get the perfect eggs every time.
Step 1: Plan when to buy your eggs. Older eggs are better to use when making Easter eggs than fresh ones. If possible, buy your eggs a week or two before you play on dyeing them.
Step 2: Before you start, be sure the pot you're using is large enough. You need to be able to lay your eggs in a single layer. Never put eggs on top of each other because this could cause your eggs to crack. The eggs should have space to move.
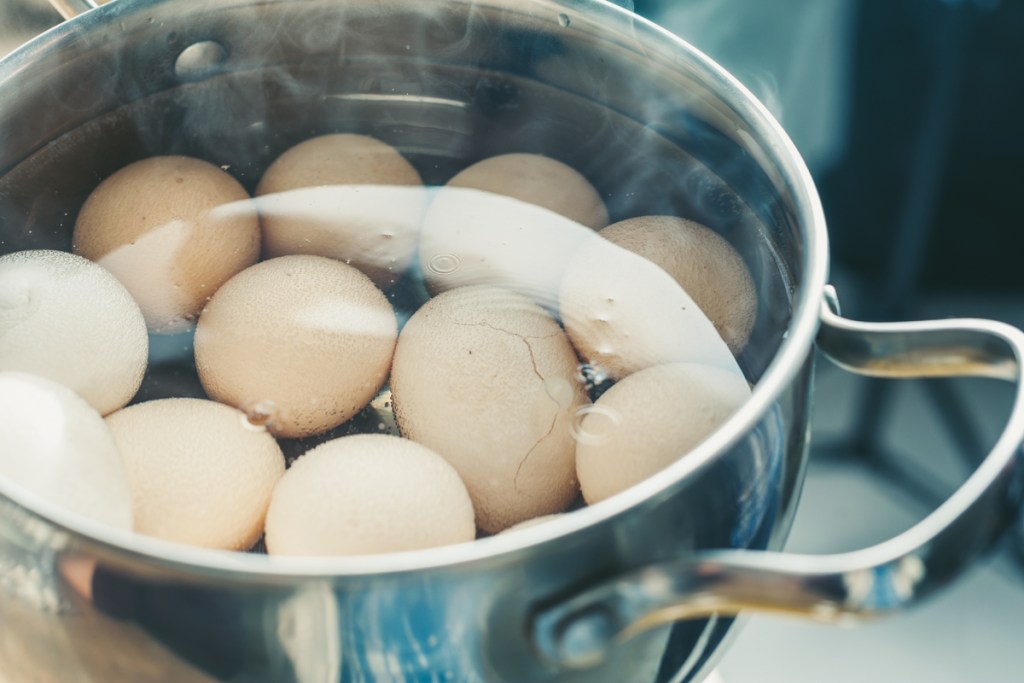
Step 3: Once you have the correct-sized pot, add your eggs and cover them with cold water. Fill the pot so the eggs are covered by an inch of water. The goal is to have the water and the eggs slowly heat up at the same time.
Step 4: Place the pot on the stove and turn the burner up to its highest heat. When the water begins to boil, put the lid on and remove the pot from the heat.
Step 5: Allow the egg pot to sit with the cover on for 15 minutes. While the timer is ticking, get a bowl ready with cold water and add some ice.
Step 6: Once the timer goes off, carefully drain your pot and place the eggs in the bowl with the icy water. Leave the eggs in the water until they’ve cooled completely.
Step 7: After 15 minutes, dry your eggs off and return them to the carton until it’s time to dye them. Place the eggs in the refrigerator if the kids won’t be dyeing them right away.
How do you boil eggs for Easter without cracking them?
Using a large enough pot and leaving the eggs breathing room is one way to avoid cracking those delicate shells. Removing the eggs from the heat and covering them with a lid is preferred to just letting the water continue to boil for 15 minutes while the pot sits on the burner because the eggs are apt to move around with the roaring boil and break.
Adding half a teaspoon of salt to the water may also help prevent cracking. The added salt will make the Easter eggs easier to peel if the eggs are going to be eaten or made into egg salad later.

Tips for using store-bought dye
There are two ways to dye Easter eggs. One way is to use a store-bought egg-coloring kit like those from Paas. If you’re short on containers, you can pick up the kit that includes egg dye cups.
Step 1: For multiple kids and your sanity, we suggest purchasing one set for each child. This not only cuts down on the arguments but also the spills.
Step 2: For more vibrant colors, add a tablespoon of vinegar to the egg dye cup before adding the color tablet.
Step 3: Allow the tablet to dissolve completely in the vinegar before adding water to the fill line.
How to use food coloring to dye your Easter eggs
Another way to dye Easter eggs at home is by using food coloring. This can be more affordable than purchasing store-bought kits, especially if you already have the food coloring in your pantry.
Step 1: Choose containers deep enough to hold a submerged egg without spillage. The containers should also be heatproof.
Step 2: Fill the containers with boiling water before adding a teaspoon of vinegar and 20 to 30 drops of food coloring. For more vibrant colors, add more food coloring. Liquid food coloring works better than gels.
Step 3: Allow the water to fully cool before letting the kids near it to avoid any mishaps.
Step 4: Whether you decide on using an egg dyeing kit or food coloring, just be sure to use chilled eggs.
Step 5: Once the egg is in the dye, leave it submerged for 5 minutes. Occasionally turning the eggs helps to ensure even coloring.
Step 6: When the egg is ready to be removed from the dye, place it on a drying rack.
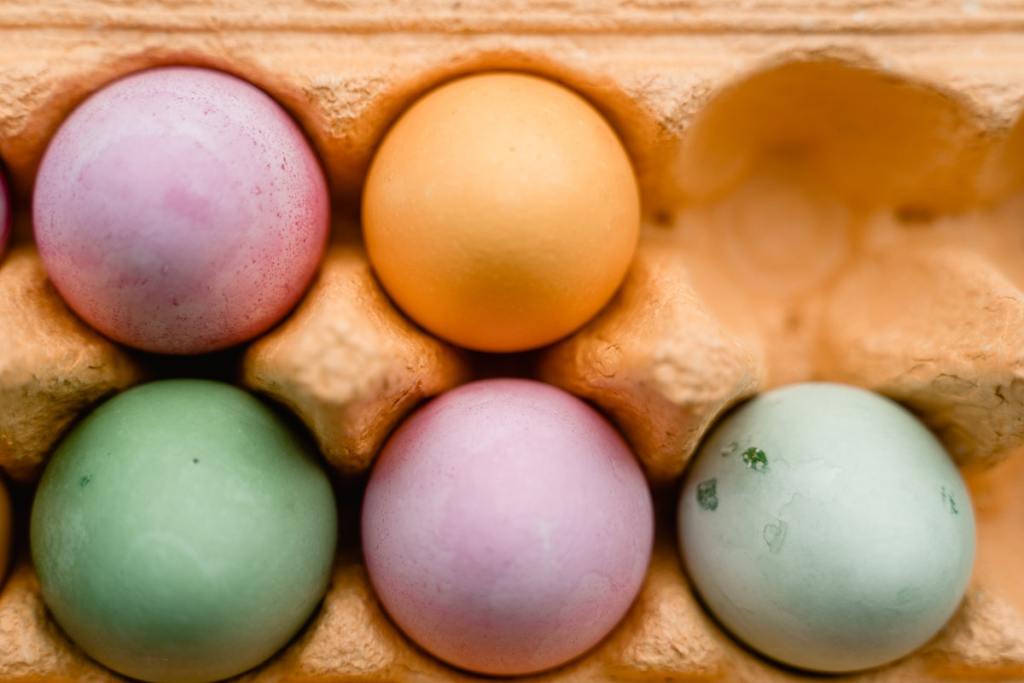
Step 7: After the dyed eggs are completely dry, return them to the refrigerator until the Easter Bunny hops by. The original egg carton is an ideal place to store the dyed eggs in the fridge.

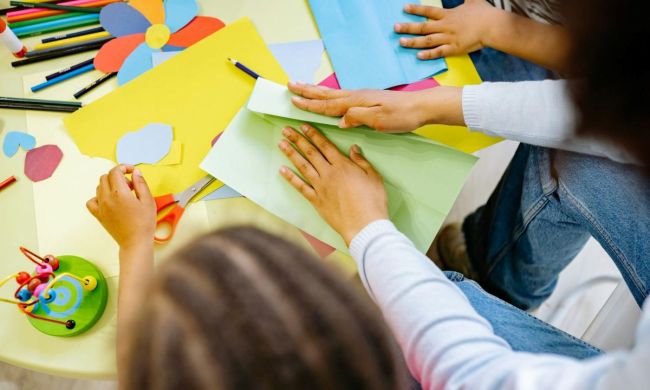
Get creative
Now that you're a pro when it comes to dyeing your eggs, you can get even more creative! Decorate your dyed eggs with polka dots, stripes, and flowers to add a touch of individuality to your eggs. Use craft paint and encourage your children to paint their eggs with different shapes and designs. If you want to keep your eggs year after year, consider blowing out the contents and decorating just the shell. This is a great activity for older kids who love to get creative and can be keepsakes to use for multiple holidays.
With this complete guide on how to boil and dye Easter eggs, your eggs are sure to turn out much better than Marcie and Peppermint Patty's!