October is full of fun fall traditions including pumpkin picking. Of course, Halloween caps off weeks of amazing autumn adventures. So, it’s important to carve those pumpkins into delightful jack-o-lanterns to decorate the front porch for October 31. Turns out carving a pumpkin isn’t as easy as Lucy makes it look in the Peanuts Cartoons. Don’t worry though. You don’t need the back of Charlie Brown’s head to try out funny pumpkin carving designs. We’ve got the low down on how to carve a pumpkin along with pumpkin easy designs to create styling jack-o-lanterns to light up your Halloween display.

How to carve a pumpkin
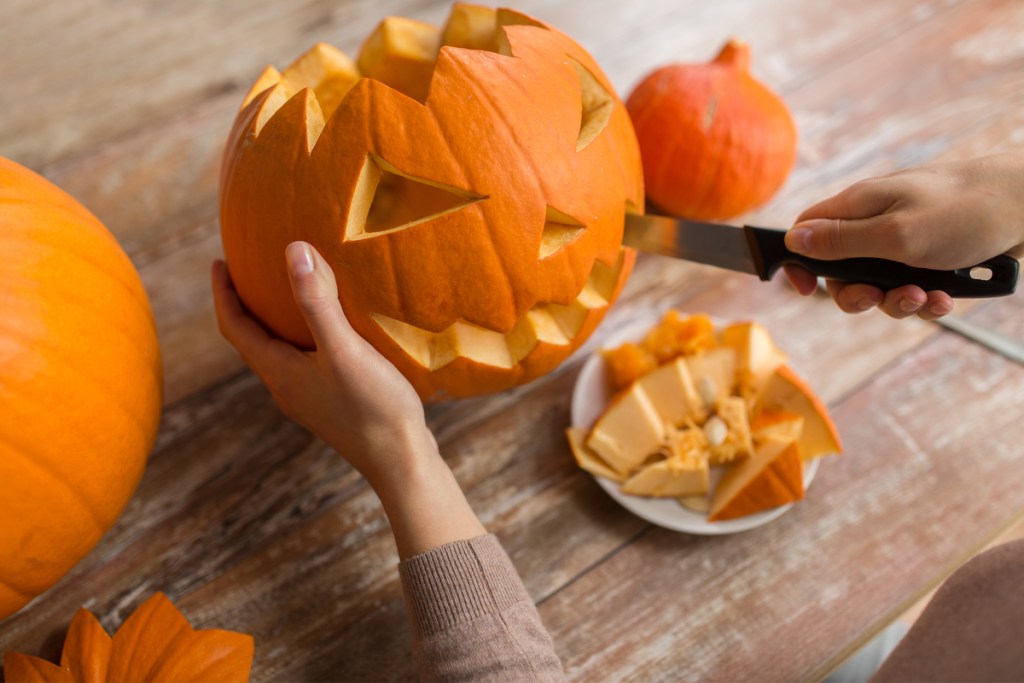
There isn’t a shortage of pumpkin carving videos on YouTube, but with the right tools, carving a pumpkin isn’t too difficult. Using knives from the kitchen will work, but can also be a recipe for a trip to the emergency room. Instead, pick up a pumpkin carving set before covering the table in newspaper. The tools do help safely cut open the pumpkin and make it less stressful to make a design. Before starting, be sure to clean off the pumpkin’s skin to remove any dirt. Next, using a Sharpie, make a light outline for the lid. Using a pumpkin knife, follow the outline to cut open the pumpkin. Use the pumpkin scooper or an ice cream scoop to remove the guts. Before cutting the pumpkin any more to make a jack-o-lantern, map out the design on the pumpkin.
Cool pumpkin carving designs
Retro pumpkin
Those age-old jack-o-lantern faces might not be high tech, but this pumpkin easy design is a vintage go-to. Sketch triangle eyes and an upside down triangle nose along with boxy square teeth for a classic jack-o-lantern face. Once the design is marked, use one of the smaller pumpkin carving knives to cut the face.
Polka dot pumpkin
Thanks to the poke tool in a pumpkin carving set, getting dotty with a pumpkin is super simple. Using the poker tool, make an eclectic array of dots on the pumpkin. Place a battery-operated LED light inside and those dots will be rockin’ come sundown.
Haunted house pumpkin
With a Sharpie sketch a haunted house design on the outside of the pumpkin, making sure to add in lots of small rectangle windows. Take a small pumpkin carving knife and cut out each window. Wipe down and dry the haunted house. Using black chalk paint and a paintbrush, color in the haunted house. Allow to dry. Place a battery-operated LED light inside and the light will show through the haunted house’s window for a spooky jack-o-lantern.
Moon pumpkin
A witch on her broom flying across a full moon is an iconic Halloween symbol. Turning a jack-o-lantern into this quintessential Halloween symbol is easy. Trace a large circle on the pumpkin to make a moon. Using a pumpkin knife, follow the line to cut out the moon. Take a witch-on-a-broom die and glue or tape a toothpick on the back. Stick the toothpick into the pumpkin rind in the middle of the bottom of the moon circle. Put a battery-operated light inside and the witch will be gliding across the moon on her broom.
Lolly the Pumpkin
Want to introduce the kids to a pumpkin pal named Lolly? It’s simple. Instead of scooping out a pumpkin the traditional way on the top, cut a hole in the back of the pumpkin. Clean out the pumpkin’s guts. Sketch eyes, nose, and a mouth using shapes. Cut the face with a pumpkin knife. Using an awl, make holes in the top of the pumpkin about an inch apart to make hair. The hair should hang down the sides of the pumpkin and go along the top as well. Using a bag of lollipops, place one into each hole. Don’t forget to add in a battery-operated light by putting it in through the hole in the pumpkins back. Place Lolly against the house so her hole isn’t noticeable. Keep Lolly as is or let trick-or-treaters take one of her lollipops.
Leaf pumpkin
Fall leaves are all around. Pick a large fall leave to trace onto the face of a pumpkin using a Sharpie. Use a pumpkin carving knife to cut the leaf design. Collect a bunch of fall leaves to place on the bottom of the pumpkin. Put a battery-operated LED light or candle in the middle of the leaf pile.

Painted pumpkins
Instead of cutting a jack-o-lantern, you can always paint one. Paint pens or pumpkin painting kits are a great way to make some stylish painted pumpkins for Halloween. Trace on a cute design and paint it on or let the kiddos go wild.
Preserving jack-o-lanterns
Once the pumpkins are cut into jack-o-lanterns it doesn’t take long for the mold to pay a visit. Extend the life of the jack-o-lantern by spraying with a water and bleach mixture. Spraying a light mist on the inside and outside of the jack-o-lantern will help it last longer especially if it’s been cut before Halloween.
Carving jack-o-lanterns is one of those super fun activities everyone looks forward to in fall. With the right tools, it’s not hard to carve a pumpkin, making a pumpkin carving kit is a good thing to keep in the kitchen. With our pumpkin easy designs, you can find a simple jack-o-lantern idea to rock your Halloween display. Don’t forget to keep those jack-o-lanterns looking fresh in the days leading up to October 31 by using a bit a bleach-water spritz every couple of days.


