For parents, tie-dye may bring up images of the Grateful Dead. For kids, it’s a fun combination of colors. Tie-dye took off in the United States in the late 1960s and early 70s, but the truth is, those cool swirls of colors on clothing and other materials have been around for quite a while, and not just at Woodstock.
Tie-dye is thought to have been a thing in other cultures for thousands of years with certain patterns identifying different regions. The earliest examples of tie-dye come from South America. Since the 60s tie-dye has been a mainstay in the U.S. and a popular pattern with kids and teens. Tie-dying shirts for kids is a fun DIY project and not as messy as you think. Here’s how to tie-dye shirts for the whole family without making a huge mess.
How to tie-dye shirts with minimal cleanup

The first step to a stress-free tie-dye experience is getting a one-step tie-dye kit. Kits include a range of non-toxic dye colors already mixed, in easy-to-use squeeze bottles. All you have to do is add water to the pre-mixed colors, and the bottles are ready to go. You can mix up your own dye colors in squeeze bottles, but the ready-made ones save a messy step.
Dye inside or outside
Tie-dying on the patio or deck is ideal, you could do a tie-dye project inside by covering a table with a throw-away plastic tablecloth. Lay out puppy pads for the kids to work on, which is key because the pads absorb any excess dye and help make the cleanup super quick.
Cover up
If this is your first try with tie-dye, old clothes are in order if you are worried about getting color on yourself. If you don’t have aprons as an extra coverup, large trash bags work great. Just cut neck and armholes for each tie-dyer and throw them out when you’re finished. Rubber gloves are a must for the parent or caregiver rinsing the clothing to save your hands from becoming stained. Kids should also wear rubber gloves when applying the dye to the clothing using squeeze bottles.
Store in individual sealed plastic bags
Once each shirt is completed, place it inside a Ziploc bag, because the dye must sit for 12 to 24 hours before being rinsed. Label each bag with the maker’s name. Only store one item in each sealed plastic bag.
How to do the tie-dye process
Here are the tips to make sure when you tie-dye, you don’t have to worry about what cleanup will look like.
Applying the bands
Whether you use rubber bands or strings, how you apply the ties makes the design. There are two simple designs to try.
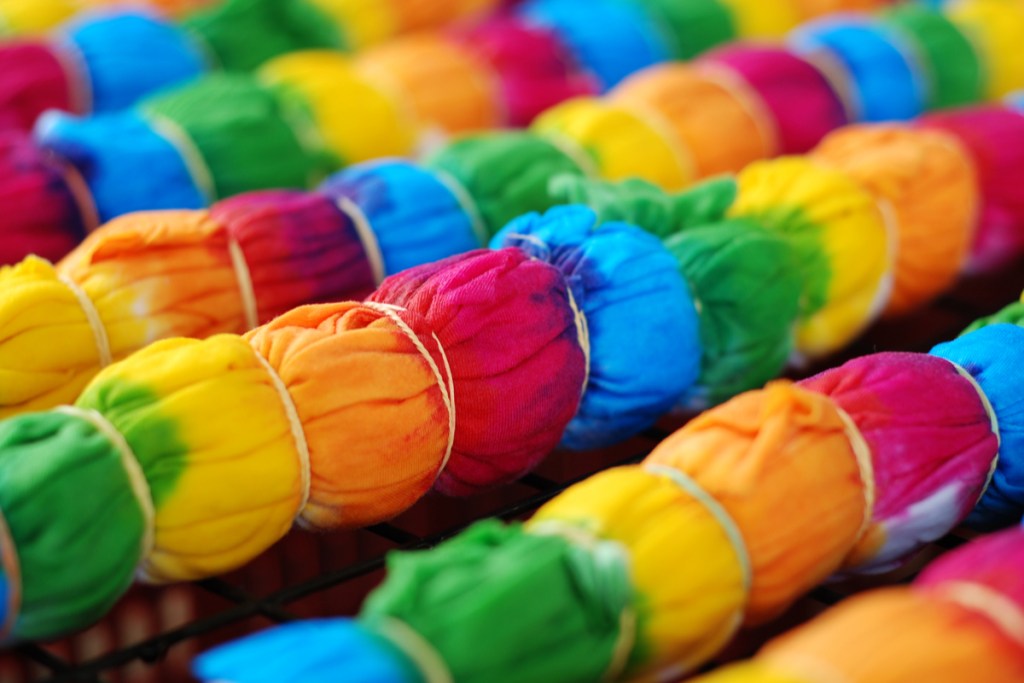
- Crumple — Crumple the garment into a ball and apply up to 10 rubber bands.
- Accordion — Fold the garment back and forth like an accordion. Then, divide the result into four sections with four tightly wound rubber bands.
If you want to get creative with your tie-dye designs, try folding the shirt or garment in different ways and securing tightly with rubber bands or strings.
A color explosion
While tie-dye shirts offer a unique blend of colors, you don’t want kids to go crazy with the colors. Think back to those color wheels in art class. Colors adjacent to one another on the color wheel will blend better than colors opposite to each other. For example, pair yellow and orange together but not orange and blue. Blue is opposite from orange on the color wheel and the result would be a muddy mix. To make things easier for kids, print out a color wheel for reference. Of course, you could have no rules and always let kids go a bit wild with the dye colors and see what pops, which is part of the fun of tie-dying.
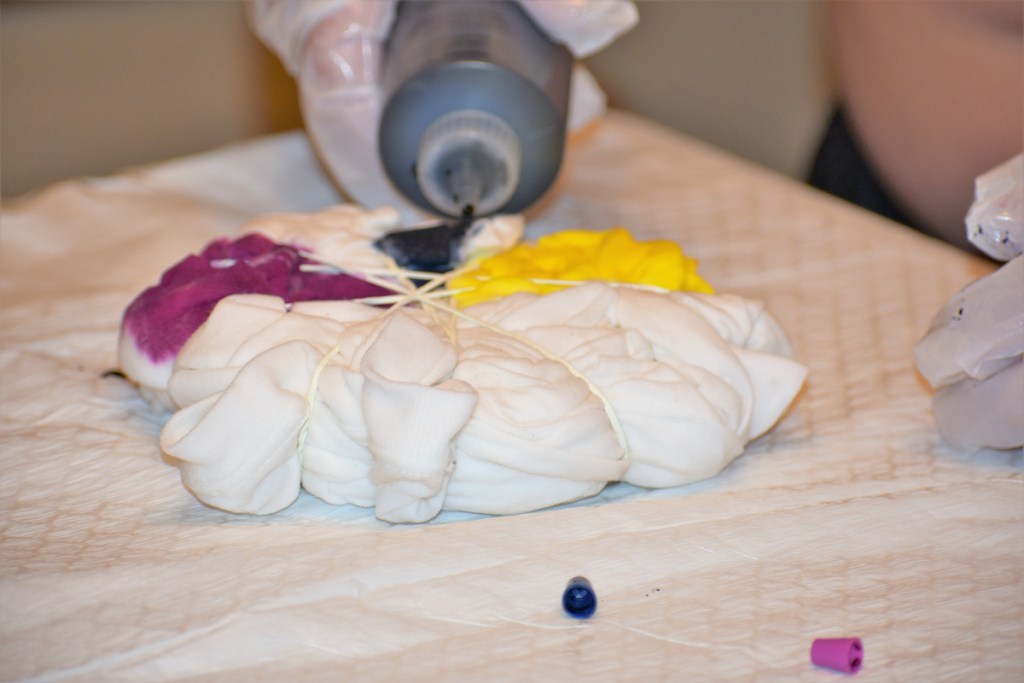
Applying the dye
Making sure the dye gets into the folds of the shirt or other garment is crucial. It’s what will help make those trendy colorful designs.
Other tips for a successful tie-dye round

Keep these additional tips in mind to help make your tie-dye project a smashing success.
- Use natural fibers — Cotton and other natural fibers tend to hold color better.
- Pre-wash clothing — Regardless of the dye you use for any tie-dye project, the colors adhere better when the shirts have been washed prior to dying. Wash the shirts, but do not throw them in the dryer.
- Use damp shirts — Make sure the shirts or other clothing articles are damp, but not sopping. You don’t want the material being tie-dyed to be dripping wet when kids begin applying the dye.
- Use rubber bands or strings — The unique tie-dye effect comes from how you tie the shirt or other articles of clothing. Rubber bands or strings can be used but must be tightly applied in order to achieve the desired look.
Try to skip these tie-dye misses
Besides properly prepping the item you dye, the actual dye used is the star. Make sure you don’t pick just any product. Especially if you are new to creating colorful masterpieces, it could take a few tries to figure out how to get the dye just right, so the items come out looking their best.
Check your dye
- Using the wrong dye
- Using old dye
- Less is more — don’t drench the item in dye
- Not mixing the dye well enough
Other ways to make sure your creation comes out great
- The water and/or the room you dye in shouldn’t be too cold (above 70 degrees)
- Don’t forget to use soda ash/washing soda
- Check your water (hard water is not tie-dye’s friend)
- Make sure to rinse the finished product in cold water
Ticking all the boxes will make sure your tie-dying goes as smoothly as possible and leaves little room for error. The more prepared you are, the smaller any potential messes will be.
With these tips in hand, tie-dying won’t be as chaotic as you might think. Puppy pads absorb the excess dye, which is what makes tie-dying so messy. Lay down disposable plastic tablecloths underneath the puppy pads and you have a workspace that cleans up in a snap. Those ready-made kits are a top pick when tie-dying with kids on a random afternoon or for a party activity. Kids will love the colorful results of their tie-dye efforts and be proud to create something on their own. Even a miss is a hit when tie-dying.
Creating tie-dye shirts for kids is a fun activity to learn to do. Like glitter, using dye with kids could be intimidating, but don’t let the thought of a mess keep you from giving tie-dye a shot.