
So, who is the most famous snowman around? Is it Frosty or Olaf? Well, Frosty has been around a lot longer, even if Olaf has been getting a lot of press in recent years. Snowmen have staying power, even when Mother Nature’s fickle weather melts them away. That's where snowman crafts come in. Creating snowmen that don't actually melt is a fun arts and crafts activity for kids of all ages.
Don't worry if you're not creative or aren't sure how to make a snowman craft. Making a snowman at the kitchen table is a lot easier than doing it in the snow. Snowman crafts are even better because you don’t need to wait for the snow to create them.
Kindergartners especially enjoy putting together a snowman or snowwoman, even if it is made out of paper. Snowman crafts are perfect for a rainy day or a snow day and make for adorable seasonal decorations and holiday ornaments. The best part of making a snowman craft? The mittens stay dry and your hands don’t get cold!
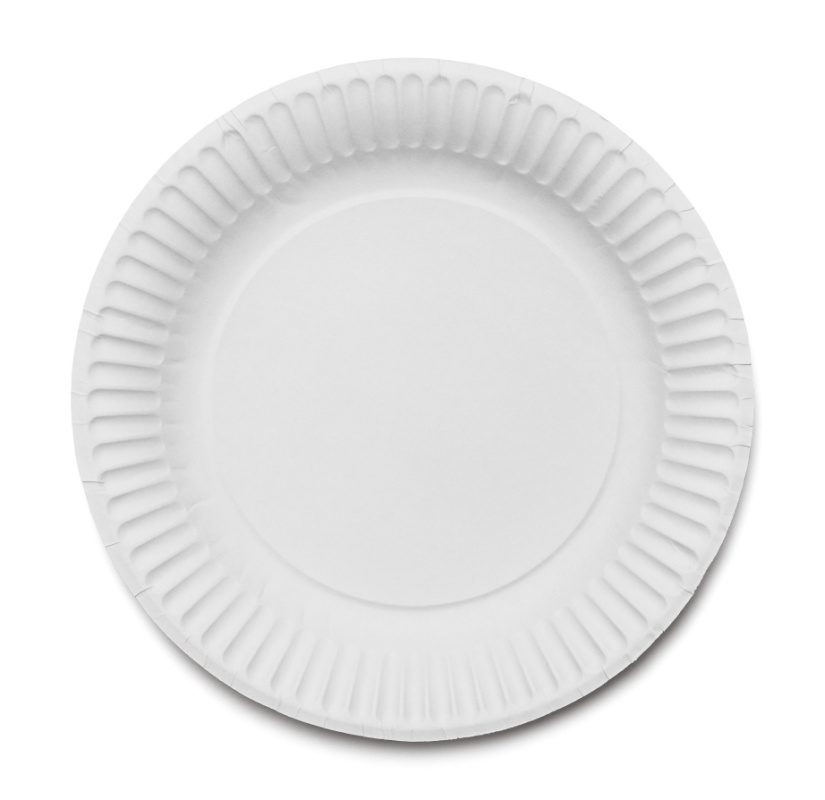
Paper plate snowman
One of the easiest snowman craft to make is one made out of three paper plates.
Step 1: Take three paper plates and glue them together to make the snowman’s body.
Older kids can do the gluing on their own. Little ones will need a bit of adult help.
Step 2: Precut or have the kids trace and cut two boots, a hat, and mittens from construction paper using a template.
Older kiddos can trace and cut on their own. Preschoolers will need assistance. Free snowman templates can be found online.
Step 3: Let kids put together their snowman by gluing on the boots, hats, and mittens.
Kids can use buttons and googly eyes for a face or draw using markers. This is a perfect snowman craft to allow kids to let their creativity shine.
Step 4: Allow the completed paper plate snowman to dry completely before hanging up.

Cotton ball hanging snowman
Another super simple snowman craft is a cotton ball snowman. This easy arts and craft project can be made with supplies you probably already have in the house.
Step 1: Take a large paper plate.
Step 2: Have kids cover the paper plate completely with cotton balls.
Kids can glue on the cotton balls as is or pull the cotton apart before gluing.
Step 3: Once the cotton is on, glue on a button nose and googly eyes.
Step 4: Use a template to trace and cut a hat from black construction paper.
Kids can also draw their own hat on black construction paper and cut it out. Once the hat is ready, glue it on.
Step 5: Have kids create a face by gluing on a button nose and googly eyes.
If you don't have those on hand, kids can make a nose and eyes from construction paper.
Step 6: Using a hole puncher and make a hole in the center of a hat.
Step 7: Make a loop to hang using a black pipe cleaner.
Step 8: Allow the snowman to dry before hanging up.

Paper snowman
For a quick snowman, all you need is white paper.
Step 1: Use an upside-down bowl as a circle template and cut three large circles out of white construction paper.
Step 2: Precut or let the kids trace and cut boots, a hat, and mittens from construction paper.
Step 3: Using a glue stick, have kids put together their snowman.
Step 4: Now, it's time to decorate the snowman. Kids can draw a face or use googly eyes and buttons.
They can use scraps to form arms, too.
Step 5: Let the snowman dry before hanging him on the fridge.
For a hanging snowman, punch a hole in the hat with a hole punch and use ribbon or yarn to make a hanger.
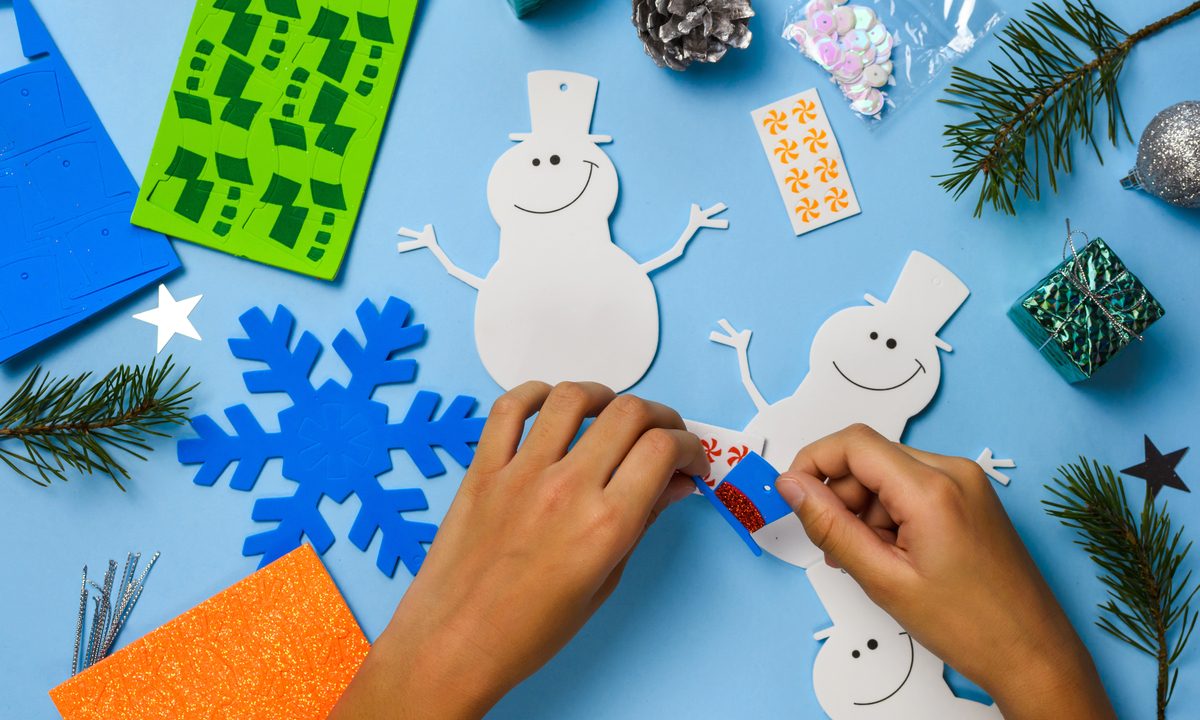
Snowman ornament
Creating holiday ornaments is a fun, family-friendly activity during the holiday season. Snowmen are made for holiday ornaments. This DIY snowman craft makes a cute holiday ornament that will last for many years.
Step 1: Paint the front and back of a few crafts sticks white.
Step 2: Allow to air dry.
Step 3: While the paint is drying cut a small hat from black felt.
Black construction paper works, too, but felt will last longer.
Step 4: Decorate the snowman using glue.
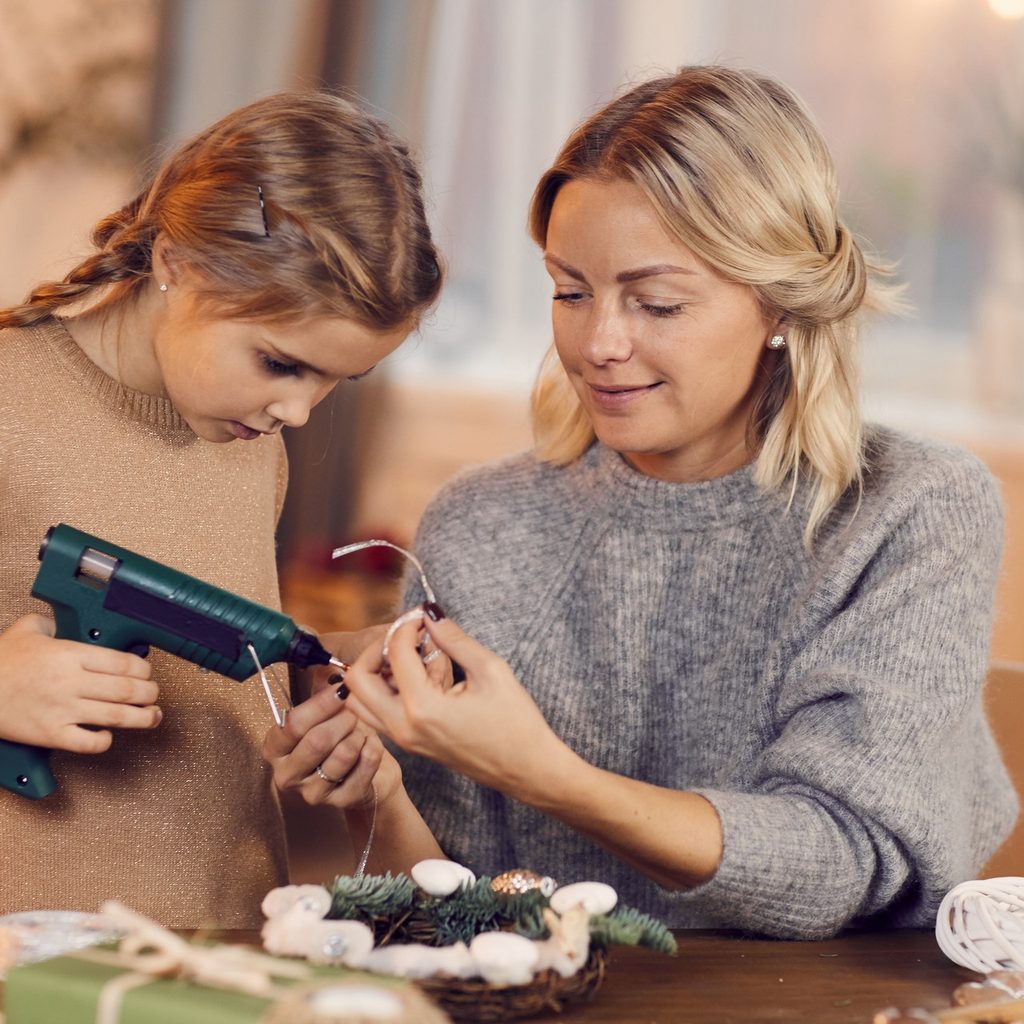
Standard school glue or a glue gun works best. An adult should operate the glue gun to prevent burns. Use googly eyes and an orange pompom to make the snowman’s face. Then, glue on the felt hat and three or more buttons down the center.
Step 5: Allow it to dry.
Tie on a piece of colored felt or ribbon for a scarf.
Step 6: Once dried, tie on a piece of colored felt or ribbon for a scarf.
Step 7: Cut a 4-inch piece of ribbon and make a loop.
Step 8: Using a glue gun, attach the loop to the back of the snowman behind the hat.
Step 9: Once the snowman ornament is completely dry, it's ready to hang on the Christmas tree.

Chalk snow scene
While putting together a project with specific pieces is a great craft for kids, it’s also important to allow kiddos the freedom to tap into their own imagination. Creating a chalk snow scene with or without a snowman gives kids the opportunity to explore their creativity.
Step 1: Cover a table or workspace with newspaper or a disposable tablecloth to keep chalk dust in check.
Step 2: Give kids a 12-by-18-inch piece of black construction paper and a piece of white chalk.
Step 3: Let them draw their own snow scene on the paper that includes a snowman or two.

Q-tip snowman
Q-tip painting can be a lot of fun and a wonderful way to let kids use their imagination and work those all-important fine motor skills. Kids can make a big snowman or a bunch of smaller snowmen. This is another project where it’s excellent to let kids experiment with their own imagination and create a snowman just like they would outside in actual snow.
Step 1: Give kids a few Q-tips, white paint in a paper cup, and a piece of 12-by-18-inch black construction paper.
Step 2: Have kids use the Q-tips as a paintbrush to create their own snow scene that includes snowmen.
Step 3: Dry completely before displaying.

Felt snowmen
Making felt snowmen is a perfect pick for older kids. Younger kids will need a bit more assistance with this snowman craft especially when gluing.
Step 1: Using an upside-down bowl as a guide, trace and cut a circle from white felt.
If making a snowman body instead of a face, cut three medium-sized felt circles.
Step 2: Trace and cut a hat from black felt.
Step 3: Glue on the black felt hat, googly eyes and an orange pompom for a nose.
Step 4: Allow to dry completely.
Step 5: Make a hole in the hat using a hole punch.
Step 6: Cut a 4-inch piece of ribbon to make a hanger.
Arts and crafts activities are a fabulous rainy day, snowy day, or any day activity for kids. Snowman crafts are always a hit with the kiddos. Craft projects work those vital fine motor skills in the hands and fingers and are just plain fun as well as relaxing. Snowman crafts are ideal for winter and can end up on the Christmas tree. If your family has a craft night, try one or more of these cool arts and crafts projects. They’re guaranteed not to melt!